Very Basic assembling Instructions:
This is how I make my prototypes, quick and not well finished.
So feel free to improve.
For tips on milling look at “The 4th axis”
After milling:
Top and back have an extra 1,5 mm around the circumference.
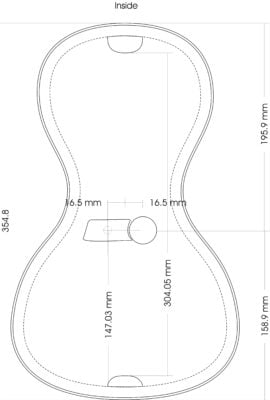
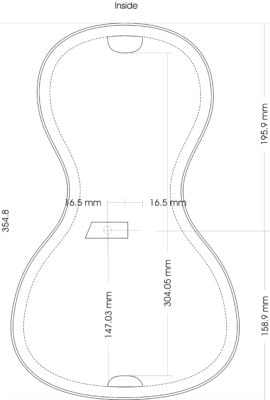
Top sound hole:
( for placement see rim on the inside) 25 mm Ø.
It is not included as a hole in the file, so there is room for changes and experiments.
Saddle top:
I only mill the side that needs to be glued so I have more freedom. Placement see:
Back:
This crossbar need an indentation to receive the sound post. Placement is identical. The files are a bit big, there is also room to reshape


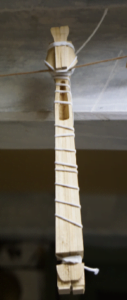
Neck:
The file does not provide the holes for the keys and dowels.
I use two dowels to match the halfs.
Rubber bands are used for clamping.
Ribs:
I use Cieba bending plywood 5mm (Cieba Petadra or Fuma, It is very light)
Use the Rib Form file
I have used that file just to mill 4 pieces of 22mm plywood an made the Forms from those.
Make two strips of Cieba wet (not dripping wet) and press them together in the form.
Wait for them to dry, apply glue and press again in shape. ( I use polyurethane construction glue)
The final height is 32 mm. Variations are possible.
The same Form file was used to make the assembly rig.
Here neck, ribs, and bottom block are glued.
I use it also to align and glue the top.


The clamp file.
This gives you the shape of the body with blobs on the side for rubber bands or clamps.
Make some room for the neck in the top clamp.
I used adhesive weather-strip on both clamps to protect the wood.
After the top is glued on, I drill the sound holes in the ribs (12 mm Ø.)

I use both clamps to glue the back on.
After that it is sanding and finishing.
Top nut and back-saddle are hand made .
The fingerboard is glued in place .
( I use rubber bands for clamping )
For the bridge see file: Bridge.ai

